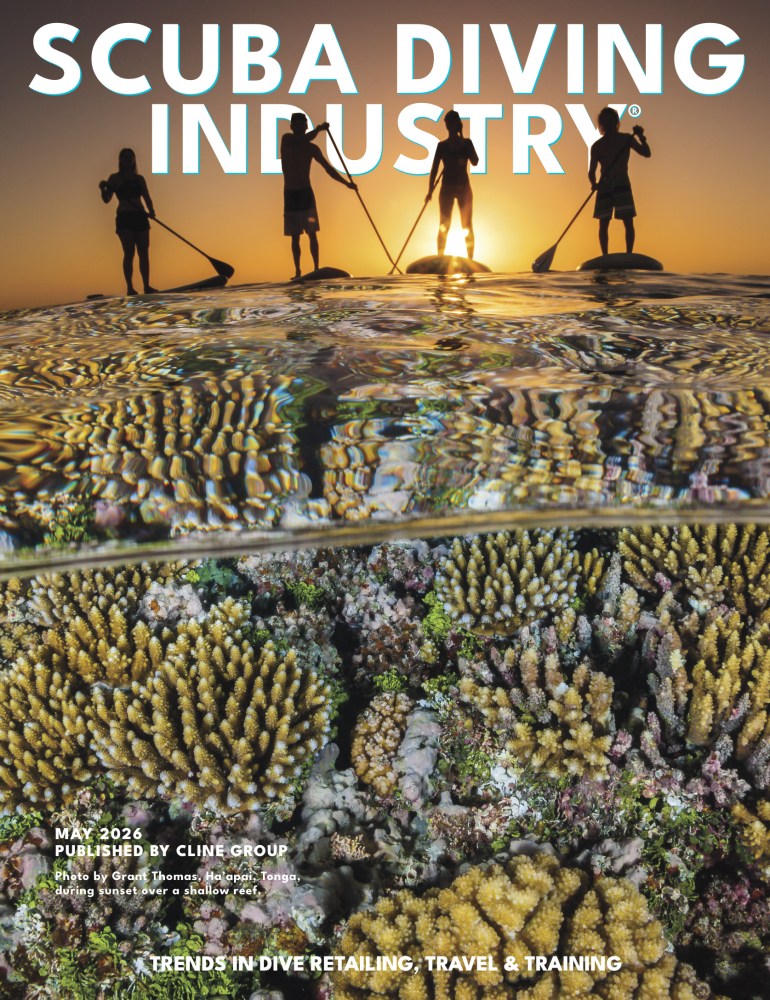
Light and Composition Challenges of Vertical Shots

VERTICAL UNDERWATER ENVIRONMENTS are some of the most visually striking places we can take students to photograph. Whether hovering in the water column among the giant kelp forests of California or diving along the towering face of a polar iceberg, these scenes present the same fundamental challenge:
How do we translate height, depth, and scale into a photograph when the underwater world has no horizon? For instructors and underwater photo pros teaching students in environments like kelp forests, reef walls, or ice, this problem shows up again and again. Students often capture technically correct exposures, but the image feels flat. The sense of towering structure that impressed them underwater disappears in the frame.
Over time, we’ve found that helping divers succeed in these environments comes down to three teachable principles:
1. Buoyancy discipline
2. Light management
3. Intentional composition
Teaching the Illusion of Height

In California’s kelp forests, giant kelp (Macrocystis pyrifera) can extend more than 100 feet from seafloor to surface. In polar regions, icebergs often plunge just as dramatically downward. In both cases, the environment is vertical, but the camera sensor remains stubbornly horizontal.
Students often respond by simply shooting wider and trying to include everything in the frame. Unfortunately, the result is usually disappointing. Without context, vertical structure easily collapses into abstraction.
One of the simplest ways we’ve found to teach scale is by introducing a diver into the frame. A human silhouette immediately establishes proportion and gives the viewer something relatable. When the diver is positioned carefully within the water column, they become an anchor point that effectively communicates the size of the environment.
If a model isn’t available, instructors can lean on the concept of visual layers and direct students on using these to create scale and depth. The 3 keys to layering:
1. Foreground detail (kelp fronds, reef structure, ice texture)
2. Mid-water subjects (fish, divers, or bubbles)
3. Background structure (kelp columns, walls, or ice faces)
Close-focus wide-angle (CFWA) photography can be particularly helpful here. By placing a strong foreground subject close to the dome port while allowing the environment to recede behind it, students can build depth directly into the composition.
Another powerful technique is the intentional use of negative space. Allowing open water to occupy part of the frame reinforces distance and scale. When possible, positioning the subject in one corner while letting sun rays or open water fill the rest of the frame can dramatically enhance the sense of height.
Lens Selection for Vertical Scenes
When advising students on optics for vertical environments, wide-angle lenses are usually the best starting point.
A fisheye lens such as the Canon 8–15mm provides a field of view of 180° at 15mm, which helps capture large structures like kelp columns or iceberg faces. When composed carefully, the subtle curvature of a fisheye can actually enhance the feeling of vertical pull within the frame.

For many of our own photos, we pair a fisheye lens with a large dome port, such as a 230mm glass dome. The additional mass of the glass dome stabilizes the housing underwater and makes precise positioning a little easier when hovering in the water column.
However, the 230mm glass dome is heavy and expensive! Alternatively instructors can emphasize the advantages of smaller dome ports. A compact dome like the 140mm can improve maneuverability in tight spaces and make the overall camera rig easier for students to manage.
Buoyancy: The Most Important Camera Skill
One of the most important lessons instructors can teach underwater photographers actually has nothing to do with cameras. In vertical environments, trim and buoyancy control becomes your most essential photographic tools. A stable diver can glide into a composition rather than chase it.
Many scuba instructors are already familiar with the concept of a stable working platform, often emphasized in technical diving training. The same philosophy translates directly into underwater photography. When students can maintain neutral buoyancy and stable trim within 1-3ft, they can make precise micro-adjustments to framing without disturbing the environment. It takes practice, but it is absolutely necessary to grow as a photographer or cinematographer.
We often encourage students to experiment with breath control rather than finning when adjusting composition. A gentle inhale can lift a diver just enough to reframe an image without stirring sediment or disturbing marine life.
Proper weighting and balanced equipment configuration also play a major role. Stable divers produce cleaner images, reduce backscatter, and disturb the environment less, benefiting both photography and the dive site.
Paid Advertisement





Managing Light in High-Contrast Environments
Vertical environments often present dramatic lighting challenges. In kelp forests, bright surface light filters unevenly through the canopy while the seafloor may fall into much darker tones. Under polar ice, the situation often reverses: the ice above reflects intense light while the deeper water below drops into deep cobalt blue.
Helping students navigate these conditions begins with understanding two different lighting approaches: shooting with ambient light and shooting with strobes.
Ambient Light: Let Depth Work for You
When shooting ambient light scenes, depth becomes one of the most important controls photographers have. Whenever possible, start students at shallower depths. Moving up even 10 feet can make a significant difference. If a scene at 30 feet appears dark or muted, try the same composition at 20 feet if conditions allow. That small change dramatically increases available ambient light and improves overall exposure balance.
At shallower depths, students also gain more freedom to build layered compositions because sunlight penetrates the water column more effectively. Encouraging students to compose carefully around the sun can also improve results. While sunballs can be dramatic, sometimes excluding the direct sunball while preserving light rays helps maintain dynamic range and prevents blown highlights.
Strobes and Close-Focus Wide-Angle

When working deeper in the water column, strobes often become essential for restoring color and contrast. This is where close-focus wide-angle (CFWA) becomes one of the most useful techniques instructors can teach.
By positioning a strong foreground subject close to the dome port and lighting it with strobes, students can recover color while allowing the environment to fall naturally into the background. This approach reduces the amount of water between camera and subject and helps minimize backscatter.
As a simple guideline, we often teach students: If depth > 25 ft, shoot CFWA. This rule helps beginners avoid the common mistake of photographing distant subjects that quickly lose color and clarity. Once students can consistently produce clean, vibrant CFWA images with minimal backscatter, they can begin experimenting with larger environmental scenes at depth. Of course, this rule is meant to be broken once students gain experience.
Use the Histogram
Regardless of lighting approach, students should learn to monitor their histogram rather than relying only on the camera’s LCD. If exposure data is pushed too far toward either side of the graph, detail is being lost in highlights or shadows. A balanced histogram helps preserve both the tonal range and natural atmosphere of the scene.
Camera Settings That Work
In many vertical environments, we prefer to work relatively shallow whenever conditions allow. Shooting within the top 25 feet of the water column helps maintain lower ISO values, preserves color, and improves overall image quality.
When introducing exposure settings, we typically encourage students to begin by setting their aperture first. A good starting point is f/8, adjusting toward f/13 or f/14 when greater depth of field is needed or when lighting conditions allow.
Once aperture is established, shutter speed becomes the primary tool for balancing ambient light.
For ambient-light scenes, we often recommend shutter speeds around 1/200 or faster. Many students don’t initially realize how much shutter speed influences the final image. A faster shutter speed can make the difference between a soft image and one that captures crisp detail in moving kelp, fish, or suspended particles. Teaching students to freeze motion with intention can dramatically improve their results.
When strobes are introduced, particularly in close-focus wide-angle (CFWA) scenarios, photographers gain additional flexibility. Because strobe light freezes the foreground subject, slower shutter speeds can be used to preserve ambient light and background detail without sacrificing sharpness.
As a general rule, we encourage students to keep ISO as low as possible and build their exposure using aperture and shutter speed first.
In particulate-heavy water, instructors may also want to demonstrate how reducing strobe power, or even turning strobes off entirely, can sometimes produce cleaner images by minimizing backscatter.
Backscatter has some incredible online resources for camera settings on their website. If you know your students’ camera model, you can look up optimal settings for them in advance and be ready to blow them away with your knowledge on their system!
Refining the Image in Post-Production
Even with careful buoyancy control, thoughtful composition, and well-managed lighting, underwater images often benefit from subtle refinement in post!
Teaching students a simple and consistent editing workflow can drastically improve their results while also reinforcing the photographic principles they practiced underwater.
One useful resource we often recommend to students is Erin Quigley’s GoAskErin training platform. It provides an excellent library of post-production tutorials specifically designed for underwater photographers! Her workflows focus on efficient editing techniques that help photographers improve images without over-processing them.
For removing stubborn backscatter, tools like the Backscatter Xterminator can be extremely effective. It allows photographers to reduce particulate while preserving natural texture in the surrounding water. Total gamechanger in underwater photography. Check out the link below.
Backscatter Xterminator Link: bit.ly/bsxt-ep.
The key lesson for students is that post-production should refine an image rather than rescue it. Strong composition, good buoyancy control, and thoughtful lighting still matter far more than any editing tool. Questions? Let’s chat! Please don’t hesitate to reach out at explorersphotography.com.
Paid Advertisement


Click here to read this article on our Flippingbook platform.
More from This Issue:
MARCH 2026 ADVERTISING PARTNERS












Watch the Interview on Level Up for this issue: